We are very excited to be welcoming a new baby into our home this November! Ever since we first found out we were expecting, I have been brainstorming ideas on what to do for the pregnancy announcement photos. I feel like since we are both infant photographers that the expectations are little higher for us. 🙂 Easter marks the 12 week point but since it doesn’t look like spring yet in Minnesota, we came up with a couple other ideas.
I’ve seen several camera onesies online but did not have the patience to wait 6 weeks for one to be made — especially because by that point I was 10 weeks along and we wanted to have a photo to share with our friends & family in just a couple weeks!
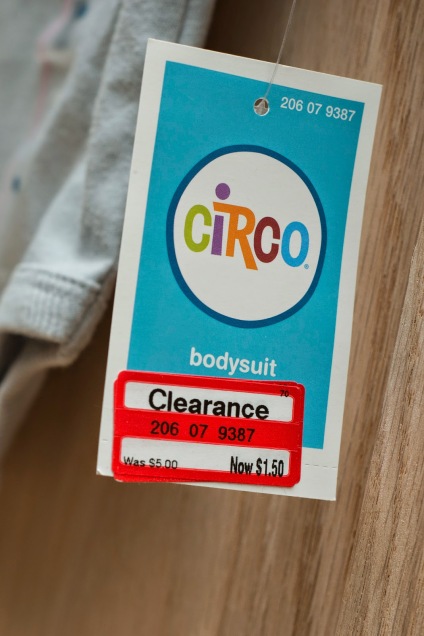
Originally planned on a white onesie with colored camera straps and a grey camera… but after we found this onesie on clearance at Target, the plans completely changed.
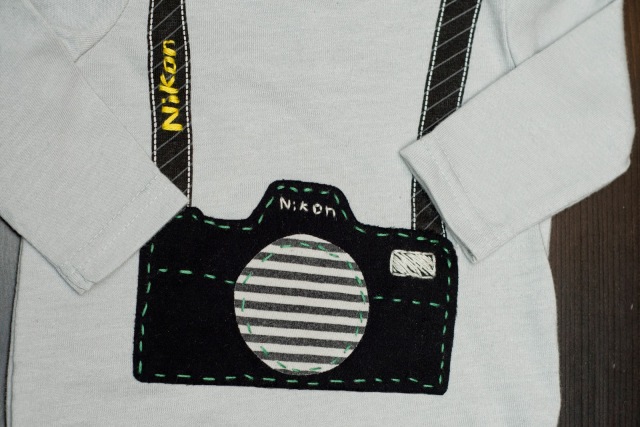
We thought it was cute that the suspenders looked a lot like the camera straps on our cameras which instantly added even more ideas to the plan.
As any good parent would tell you, it’s important to teach your little ones what’s right and what isn’t from the beginning. This, of course, applies to camera brands in this family. 😉
After the most important detail was complete, I did a rough sketch to figure out the size and shape to cut the fabric for the camera. I made it so that the bottom of the camera covered the end of the suspenders hoping that it would not be covered up with the top of the pants.
Since I have never attached fabric to clothing before, I asked a friend for some tips. She let me borrow some Heat n Bond which made it so easy! I like how it made the fabric easy to cut into the shape I wanted, kept the fabric flat against the onesie AND made it so that this project required absolutely no pinning!
After both pieces were attached I decided to do the rest of the detailing with embroidery floss instead of adding more fabric for the flash.
Since we won’t find out for a few more months if we are expecting a boy or a girl, I made sure to pick a color that would be gender neutral.
I chose a bright green for the outlining and a light grey for the brand name and the flash.
Once it was finished I realized that my attempt for a gender neutral onesie turned out to look like it was made for a little boy. If we find out in June that we are expecting a girl, I may need to add on a bow to the camera strap on the right side. 🙂
In the end, I’m happy with how it turned out. If I make another one in a larger size, I think I will use brighter colors on a white onesie like we originally planned. I like how the suspenders inspired the rest of this design on this one and I am looking forward to our little one being able to wear it!


